Few Mac cleaners send your own files to the Trash. Of 13 tools checked in November 2026, PixelDisk (in Safe mode, its default), MacCleaner Pro and OmniDiskSweeper use the Trash for files you own, while DaisyDisk and parts of CleanMyMac delete permanently (DaisyDisk, MacPaw). Files in the Trash can be put back. Emptied files are gone, unless you have a backup.
Which cleaners use the Trash, and which delete permanently
We read each vendor’s own help pages, product pages or source code. “Not stated by the vendor” means we found no vendor page that says, not that the app is unsafe.
| App | Where removed files go | Undo or history | Source |
|---|---|---|---|
| PixelDisk | Trash for personal files in Safe mode (default); caches and build files deleted; Full mode deletes everything. The Uninstaller and duplicates always go to the Trash | History log and deletions.log; put back while items are in the Trash |
Our product |
| CleanMyMac | Large & Old Files and Duplicates: deleted permanently, bypassing the Trash; Photos items go to Recently Deleted. Other modules: not stated by the vendor | Not stated by the vendor | Large & Old Files help, Duplicates help |
| DaisyDisk | Deleted permanently, not to the Trash | Change your mind only while files sit in the Collector; no undo after Delete | DaisyDisk guide |
| MacCleaner Pro | Trash by default | Removal History, restore from the Trash | Nektony help |
Mole CLI (mo) |
clean, purge and installer: permanent. uninstall and analyze: Trash |
mo history log; undo only while items are in the Trash |
Mole safety notes |
| Mole app | Cache cleanup permanent by default, with a Trash option in Settings; uninstall and Analyze use the Trash | Not stated by the vendor | Mole for Mac |
| OmniDiskSweeper | Trash | Put back from the macOS Trash; no history log confirmed | The Omni Group |
| GrandPerspective | Folders go to the Trash; single files not stated by the vendor. Deletion can be turned off | No history log confirmed | Preferences help |
| AppCleaner | Not stated by the vendor. A 2015 Macworld review says the app and its files are moved to the Trash | Not stated by the vendor | FreeMacSoft, Macworld |
| CCleaner for Mac | Not stated by the vendor. The paid plan can empty the Trash automatically | Not stated by the vendor | CCleaner |
| BuhoCleaner | Flash Clean: not stated by the vendor. Shredder erases permanently. Dr.Buho calls app uninstall “an irreversible action” | Not stated by the vendor | Flash Clean guide, App Uninstall guide |
| DevCleaner for Xcode | Removed directly with FileManager.removeItem, which skips the Trash |
No undo found; the author recommends a backup first | Source code |
| macOS Storage settings | Not stated by Apple. Its guide only says “select it, then click Delete” | Not stated by Apple | Apple Support |
| macOS Finder | Trash (Command-Delete) | Put Back from the Trash; emptying is permanent | Apple Support |
For prices and the rest of each app’s features, see the full comparison of Mac disk cleaners or all comparison pages.
DaisyDisk explains its choice openly. Its guide says it skips the Trash because otherwise no disk space would be freed (DaisyDisk). That is a fair trade-off for a disk map. It just means the Collector is your only chance to change your mind.
Why the Trash step matters
A cleaner works from rules, and rules miss things. A folder named cache may hold the only copy of something. A Trash step turns a mistake into a two-click fix.
Three cases come up often:
- A plain mistake. You picked the wrong folder in a long list. With the Trash, you open it and choose File > Put Back (Apple Support).
- A build breaks. You cleared build folders or Xcode files, and a project stops compiling. If the tool used the Trash, you can put the folder back instead of waiting for a full rebuild. Build folders usually rebuild on their own, which is why some tools, PixelDisk’s Safe mode included, delete them at once. See how to clear Xcode DerivedData safely.
- A model you still needed. Local AI models are often tens of gigabytes. Downloading one again can take an hour. See where Ollama and LM Studio keep models.
A history log adds one more thing: you can see what was removed and when. That helps when you notice a problem days later.
The limits of the Trash
The Trash is a waiting room, not a safety net. Know its limits before you count on it.
- The Trash is not a backup. It holds only what you deleted recently. It doesn’t protect against a failed disk or a lost Mac.
- Emptying is permanent. Apple says items emptied from the Trash “are permanently deleted and are no longer available” (Apple Support). The same applies to Delete Immediately on a single item in the Trash.
- Automatic emptying. Finder can remove items after 30 days if you turned that on in Finder > Settings > Advanced. Items trashed from iCloud Drive are removed after 30 days regardless of that setting (Apple Support).
- No space until you empty it. Apple notes the space doesn’t become available until you empty the Trash (Apple Support). Time Machine local snapshots can hold it a while longer (The Eclectic Light Company).
- External drives keep their own Trash. Items trashed from another volume go to a hidden
.Trashesfolder on that volume (The Eclectic Light Company). They keep using that drive’s space until you empty the Trash. - Terminal
rmskips the Trash. Many guides and scripts userm -rf. It removes files directly, with no Put Back (man rm).
On macOS 15 or later, Terminal has a built-in command that uses the Trash instead (man trash):
# move a folder to the Trash instead of deleting it (macOS 15 or later)
trash ~/Downloads/old-project
The next command deletes permanently, with no Trash step, so check the path twice:
# permanent: rm does not use the Trash
rm -rf ~/Downloads/old-project
How to recover files after a permanent delete
If a cleaner deleted something and it isn’t in the Trash, stop writing new files to the disk. Then work through these steps.
- Check the Trash anyway. Some tools use it for some modules but not others. Open the Trash in the Dock and search for the file name.
- Restore from Time Machine. Open a Finder window for the folder where the item was. Open Time Machine, use the arrows to go back in time, select the item and click Restore. Apple says restored items “return to their original location” (Apple Support).
- Check local snapshots. If your backup disk isn’t connected, Time Machine can still show local snapshots from the last 24 hours (Apple Support).
- Check other copies. Look in iCloud Drive, Photos’ Recently Deleted album, a cloud sync folder or the device the file came from.
- Recovery software or a lab. DaisyDisk’s guide says undelete tools “do not guarantee anything.” For important files, it suggests turning the Mac off and calling a recovery service (DaisyDisk).
If you have no backup, set up Time Machine now, before your next cleanup.
How to check any cleaner yourself
Vendor pages often don’t say where files go. A five-minute test with a dummy folder answers it for your version.
- Create a test folder with a 500 MB dummy file:
# create a test folder with one 500 MB file
mkdir -p ~/Desktop/cleaner-test
mkfile -n 500m ~/Desktop/cleaner-test/dummy.bin- Open the cleaner, scan, and find
cleaner-testin its results or file browser. - Remove it with the cleaner’s normal Remove or Clean button. Don’t use a “secure” or “shred” option.
- Open the Trash in the Dock. If
cleaner-testis there, select it and choose File > Put Back. It should return to the Desktop. - If it isn’t in the Trash, that tool deletes permanently, at least in that module. Look for a history or log screen, and for a Trash setting in its preferences.
- Repeat for each module you plan to use. Junk, large files and uninstall can behave differently in the same app.
When you’re done, drag the test folder to the Trash and empty it.
Do it in PixelDisk
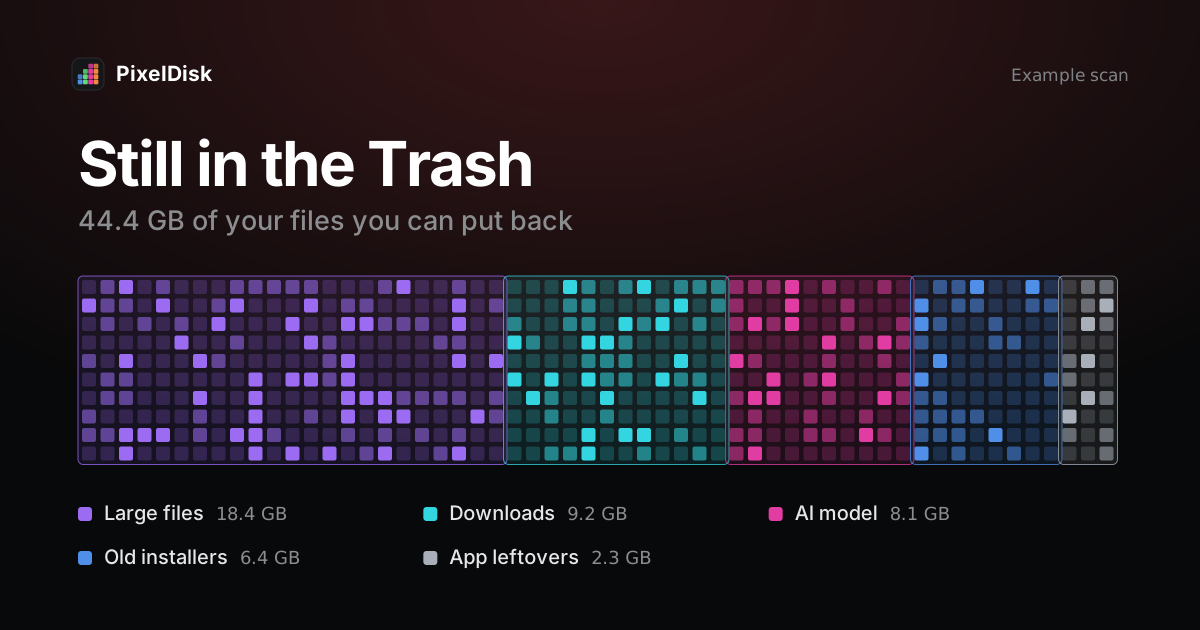
PixelDisk has two modes, chosen in Settings. In Safe mode, the default, caches, logs and build files are deleted at once because they rebuild, and large files, installers, downloads, AI models and app leftovers go to the Trash, where PixelDisk keeps them for 7 days by default. In Full mode everything is deleted at once, with one question first for anything that doesn’t rebuild. The Uninstaller and duplicates always go to the Trash. PixelDisk logs every removal in History and deletions.log, and put back works only for items still in the Trash. Empty Trash asks first with the size. It also skips files of running apps, open files and anything marked Keep. Scanning is free; removing files is a $19 one-time unlock (pricing), and emptying the Trash is free.
Sources
Checked November 2026.
- Apple Support, Delete files and folders on Mac: https://support.apple.com/guide/mac-help/delete-files-and-folders-on-mac-mchlp1093/mac
- Apple Support, Find and delete files on your Mac: https://support.apple.com/guide/mac-help/find-and-delete-files-on-your-mac-syspf5a64aa6/mac
- Apple Support, Free up storage space on Mac: https://support.apple.com/en-us/102624
- Apple Support, Restore items backed up with Time Machine on Mac: https://support.apple.com/guide/mac-help/restore-items-backed-up-with-time-machine-mh11422/mac
- Apple Support, About Time Machine local snapshots: https://support.apple.com/en-us/102154
- The Eclectic Light Company, Dumpster-diving: how the Trash works: https://eclecticlight.co/2026/11/10/dumpster-diving-how-the-trash-works/
- MacPaw, Manage large and old files with CleanMyMac: https://macpaw.com/support/cleanmymac/knowledgebase/large-and-old
- MacPaw, Find and remove duplicate files with CleanMyMac: https://macpaw.com/support/cleanmymac/knowledgebase/duplicate-files
- DaisyDisk, Undeleting files: https://daisydiskapp.com/guide/4/en/Undelete/
- Nektony, MacCleaner Pro help: https://nektony.com/help/mac-cleaner-pro
- Mole CLI safety notes: https://github.com/tw93/Mole#safety
- Mole for Mac: https://mole.fit/
- The Omni Group, OmniDiskSweeper: https://www.omnigroup.com/more
- GrandPerspective, Preferences help: https://grandperspectiv.sourceforge.net/HelpDocumentation/Preferences.html
- FreeMacSoft, AppCleaner: https://freemacsoft.net/appcleaner/
- Macworld, Remove extra application files with AppCleaner (2015): https://www.macworld.com/article/2995495/operating-systems/remove-extra-application-files-with-appcleaner.html
- CCleaner for Mac: https://www.ccleaner.com/ccleaner-mac
- Dr.Buho, BuhoCleaner Flash Clean guide: https://www.drbuho.com/buhocleaner/guide/flash-clean
- Dr.Buho, BuhoCleaner App Uninstall guide: https://www.drbuho.com/buhocleaner/guide/app-uninstall
- DevCleaner for Xcode source code: https://github.com/vashpan/xcode-dev-cleaner/blob/master/DevCleaner/Model/XcodeFiles.swift
man rmandman trash, macOS manual pages (local)